Lemonade Stand
This one was extra special for me.
It was one of the first projects someone actually asked me to build, so I knew I wanted to go all out and put a little extra care into it. @its_mykeva told me to just get creative and run with it, which made it even more fun.
I started by thinking through the look and coming up with some plans.

After coming up with some plans I took a trip to Lowe's and grabbed some crates and paint.
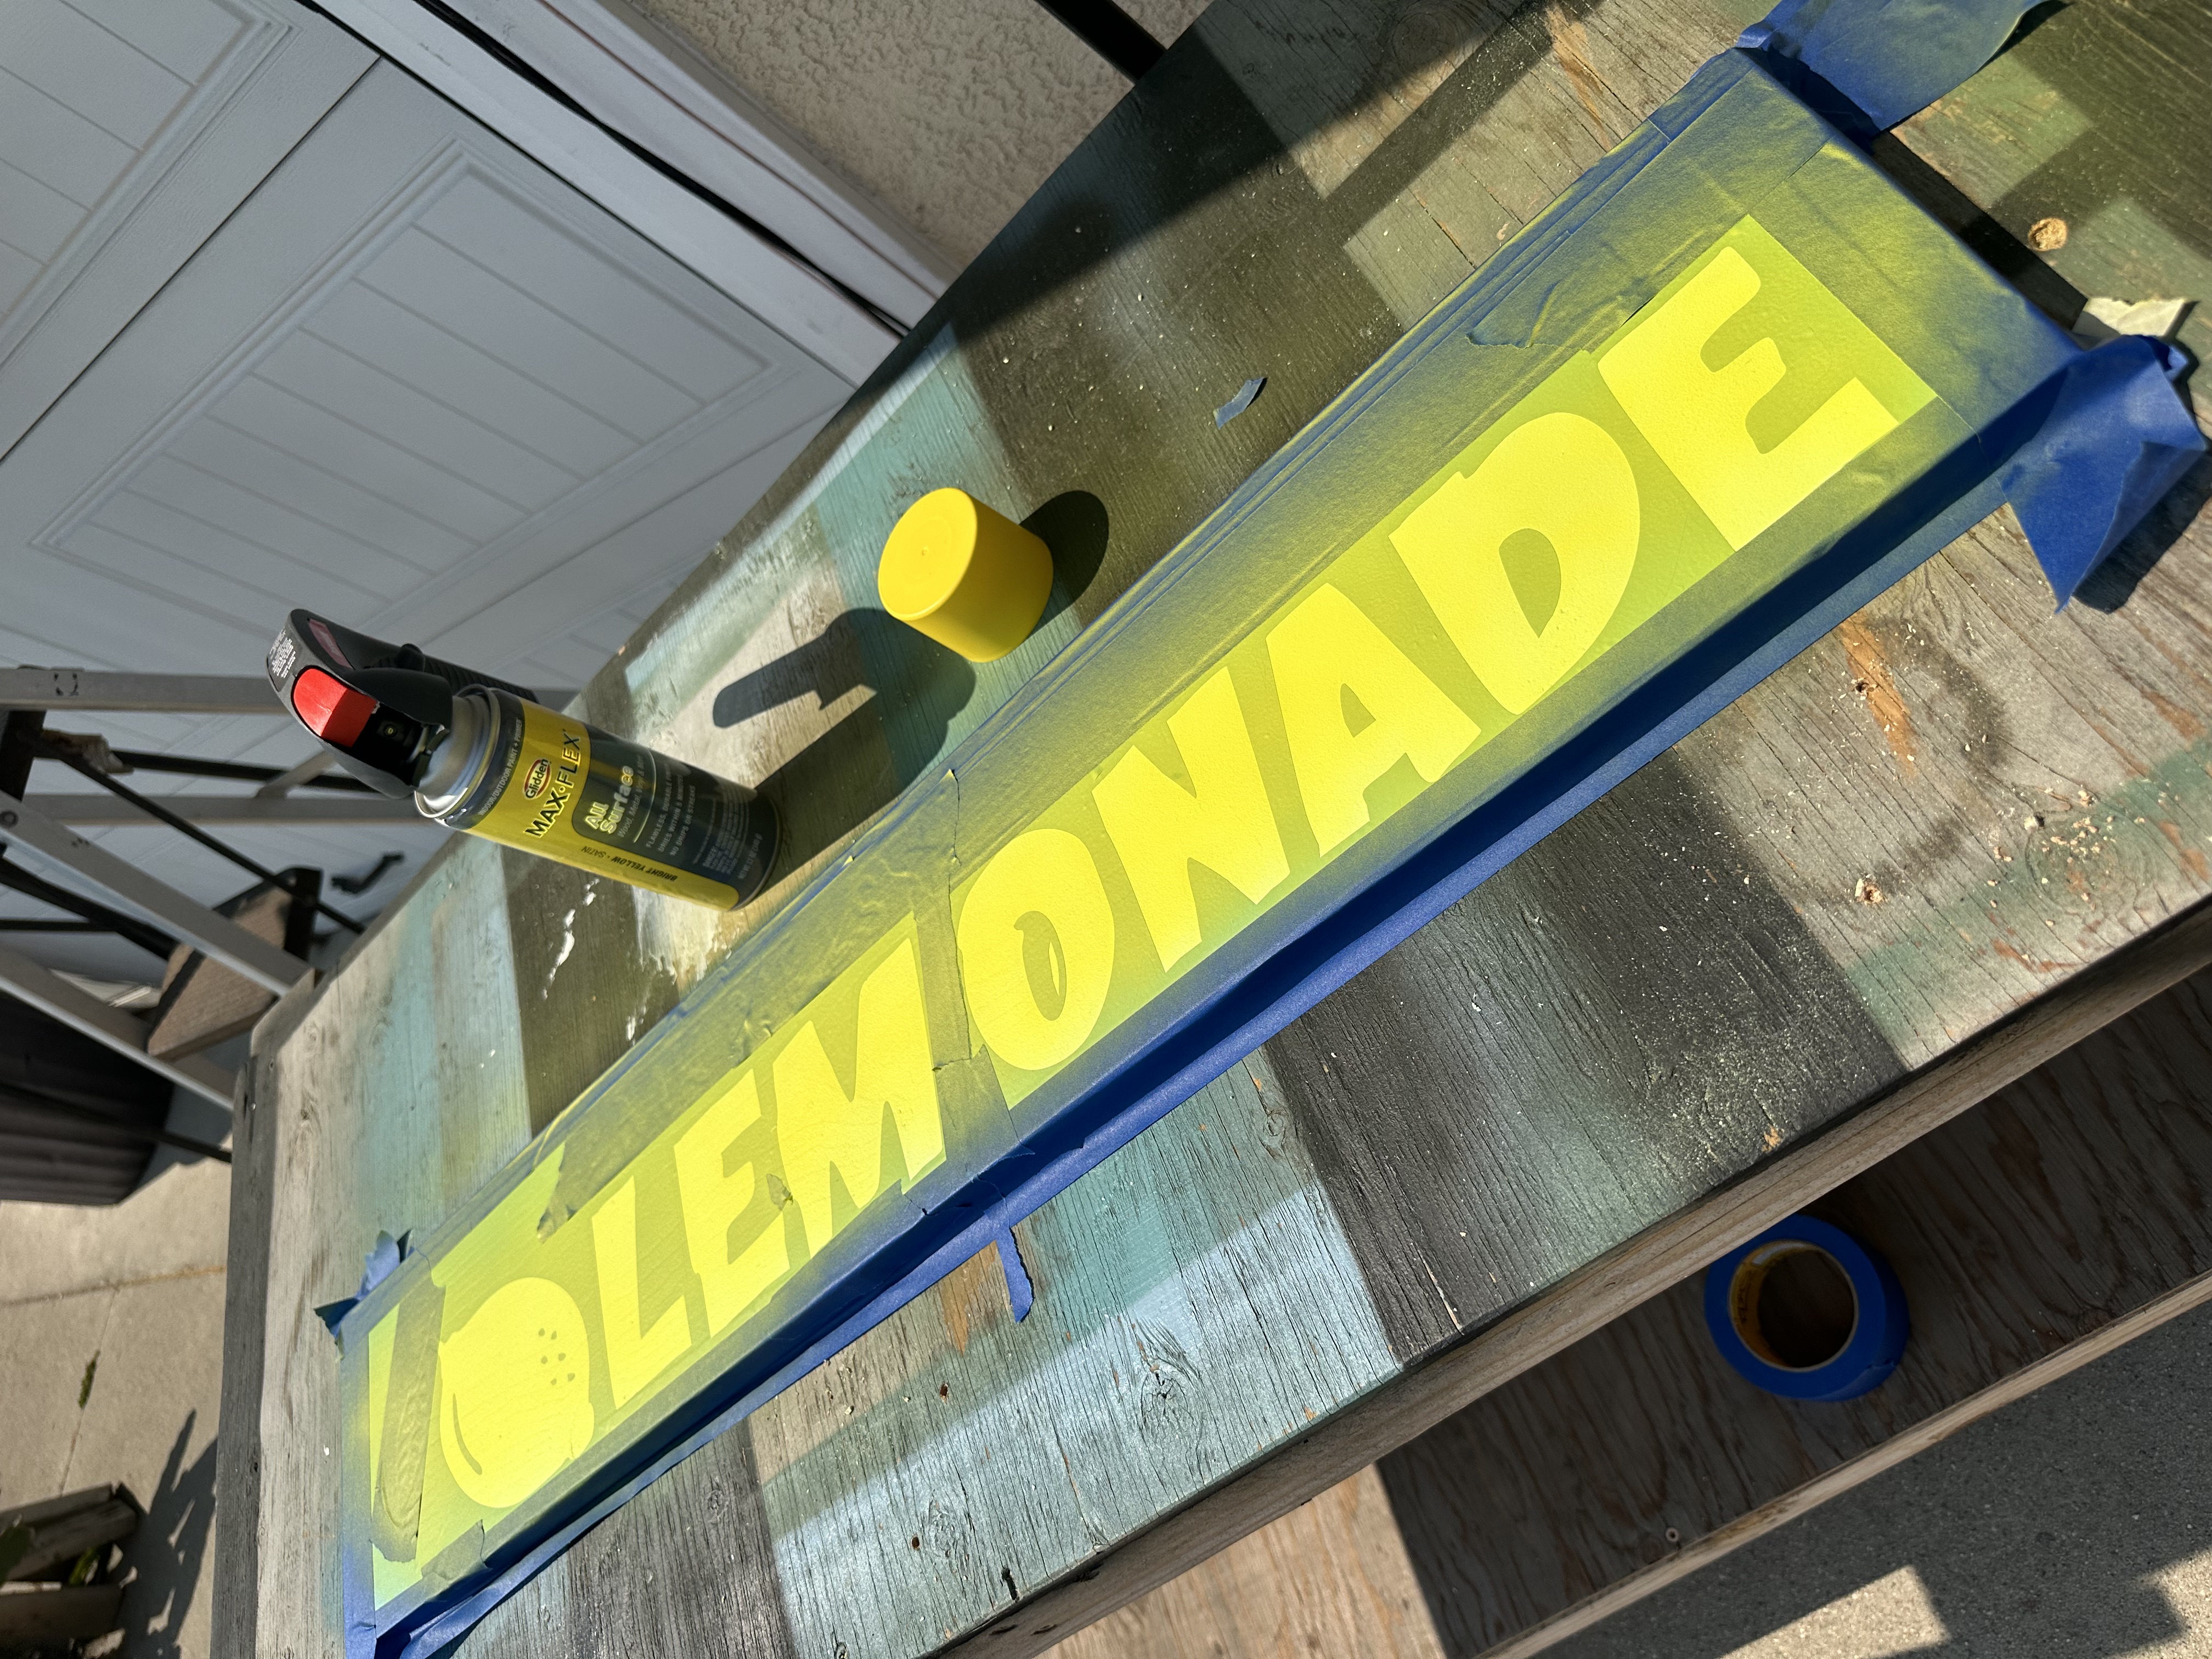
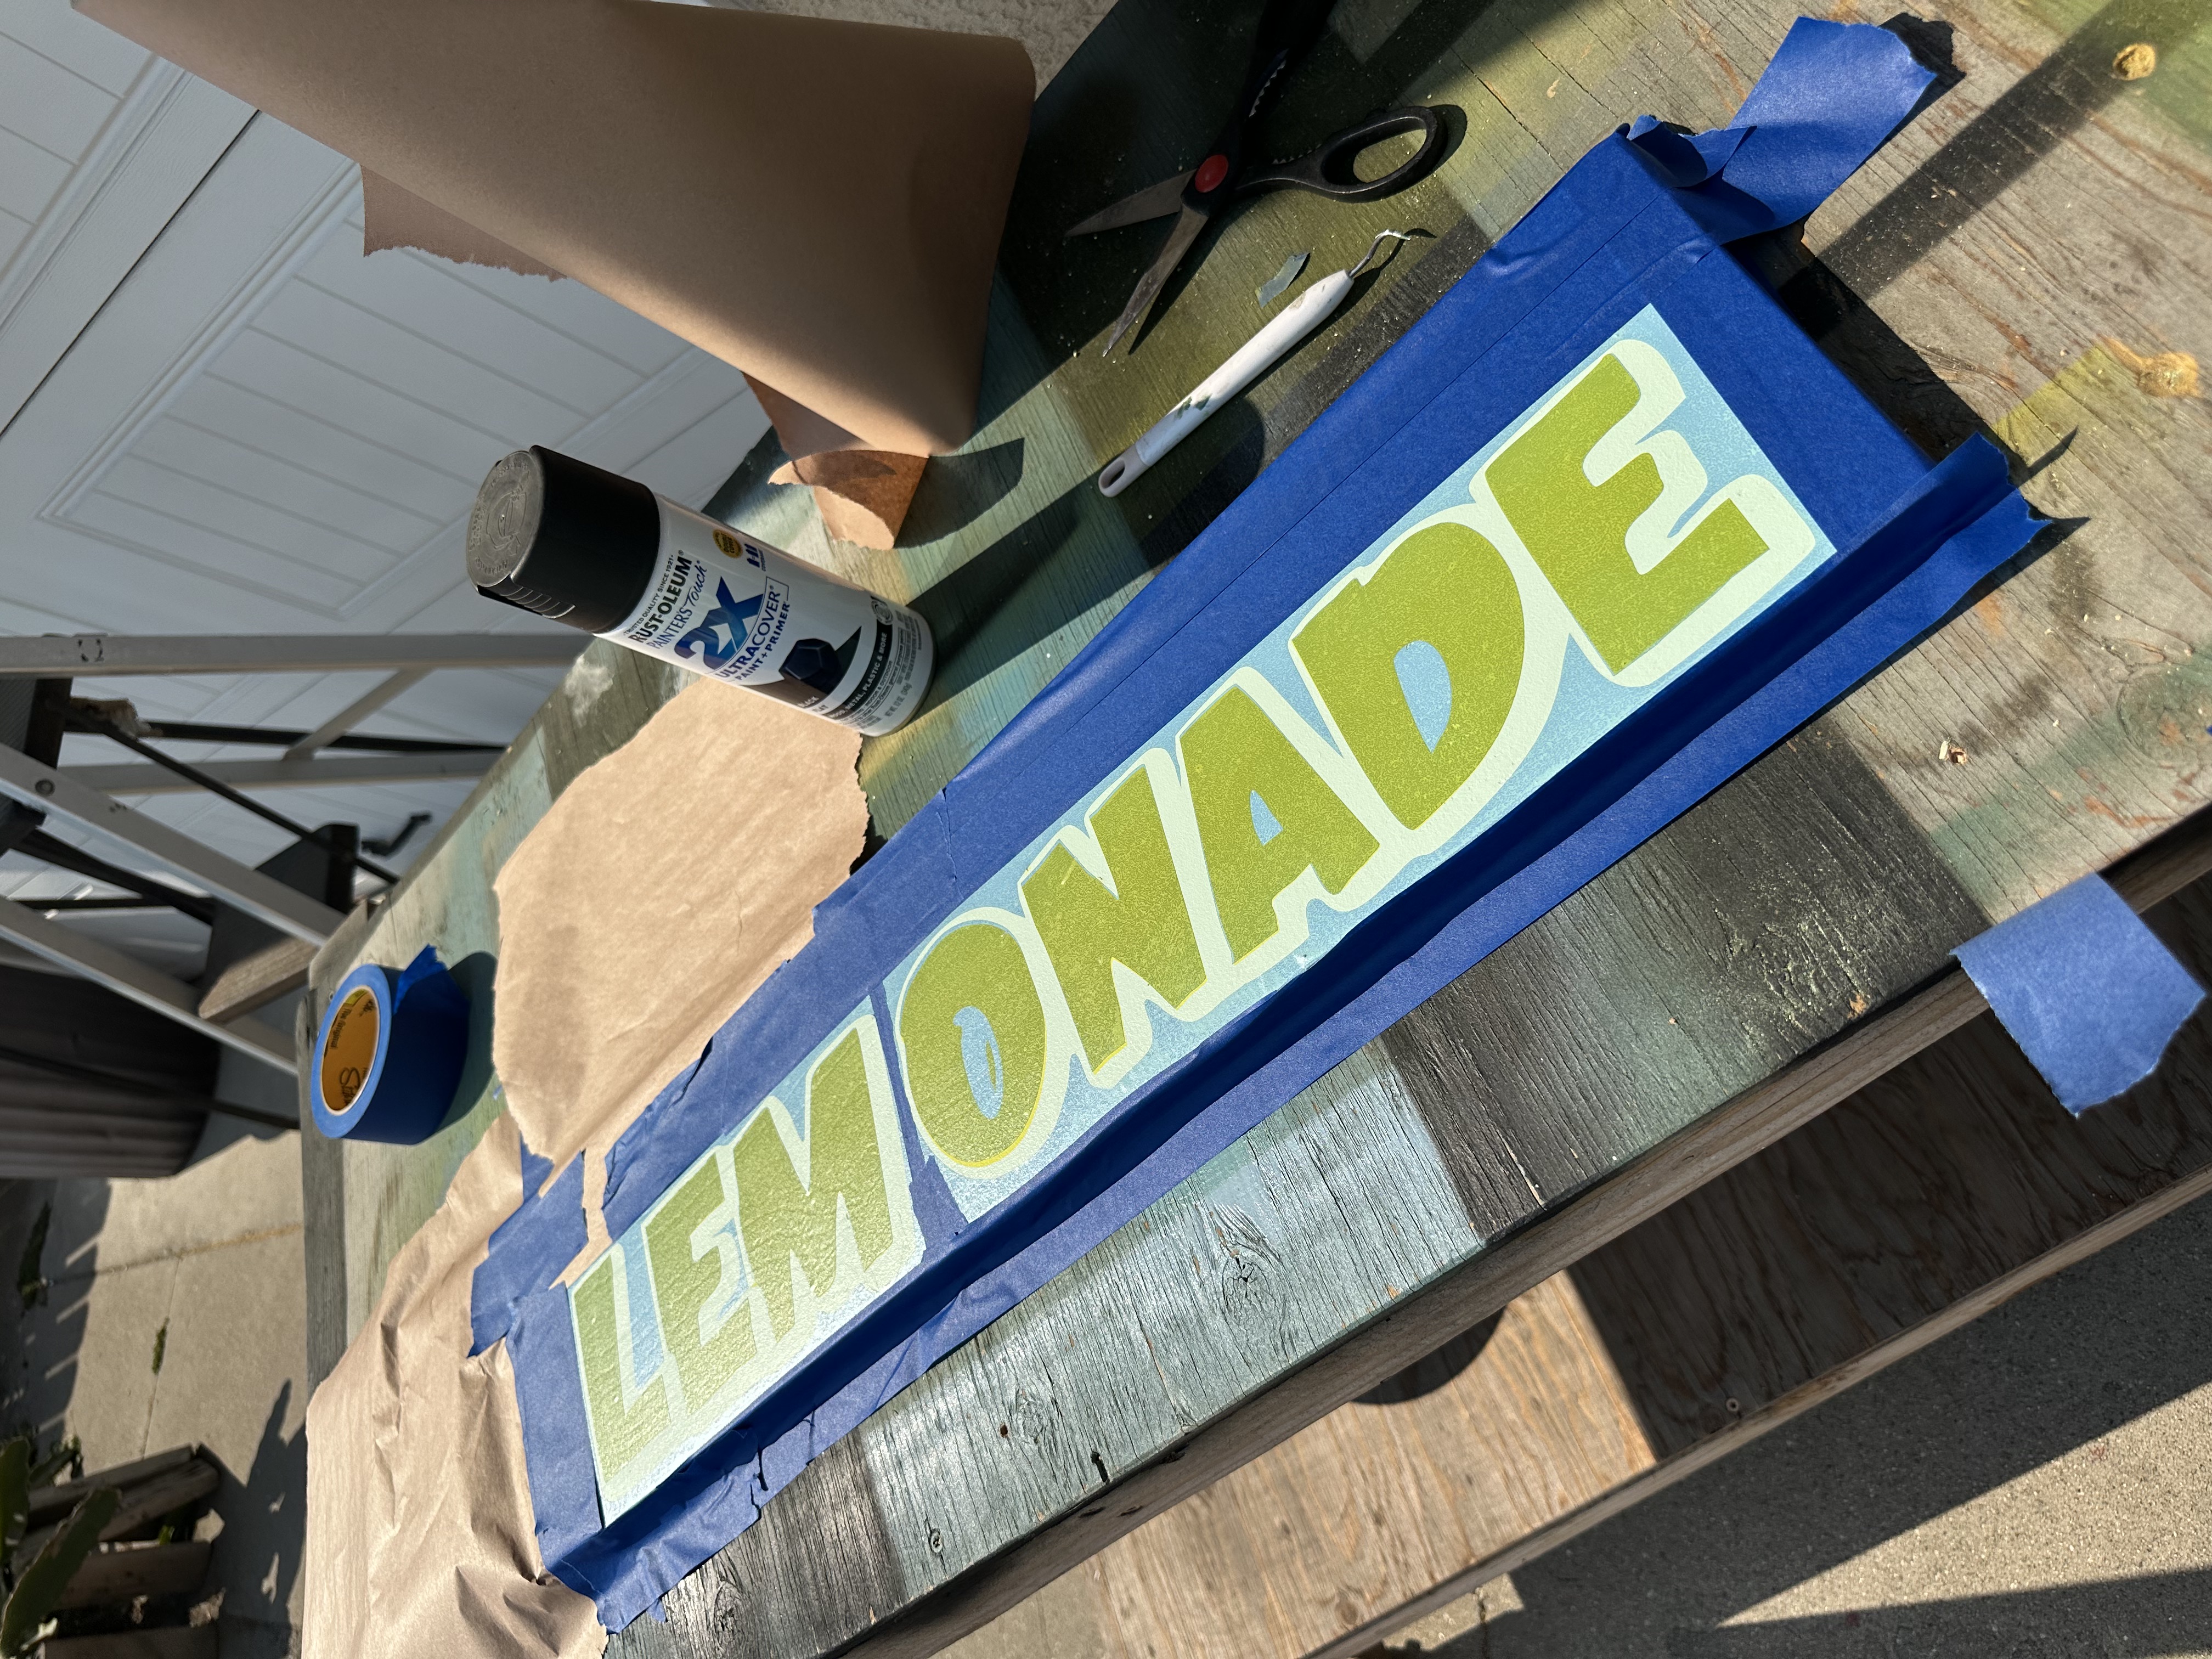
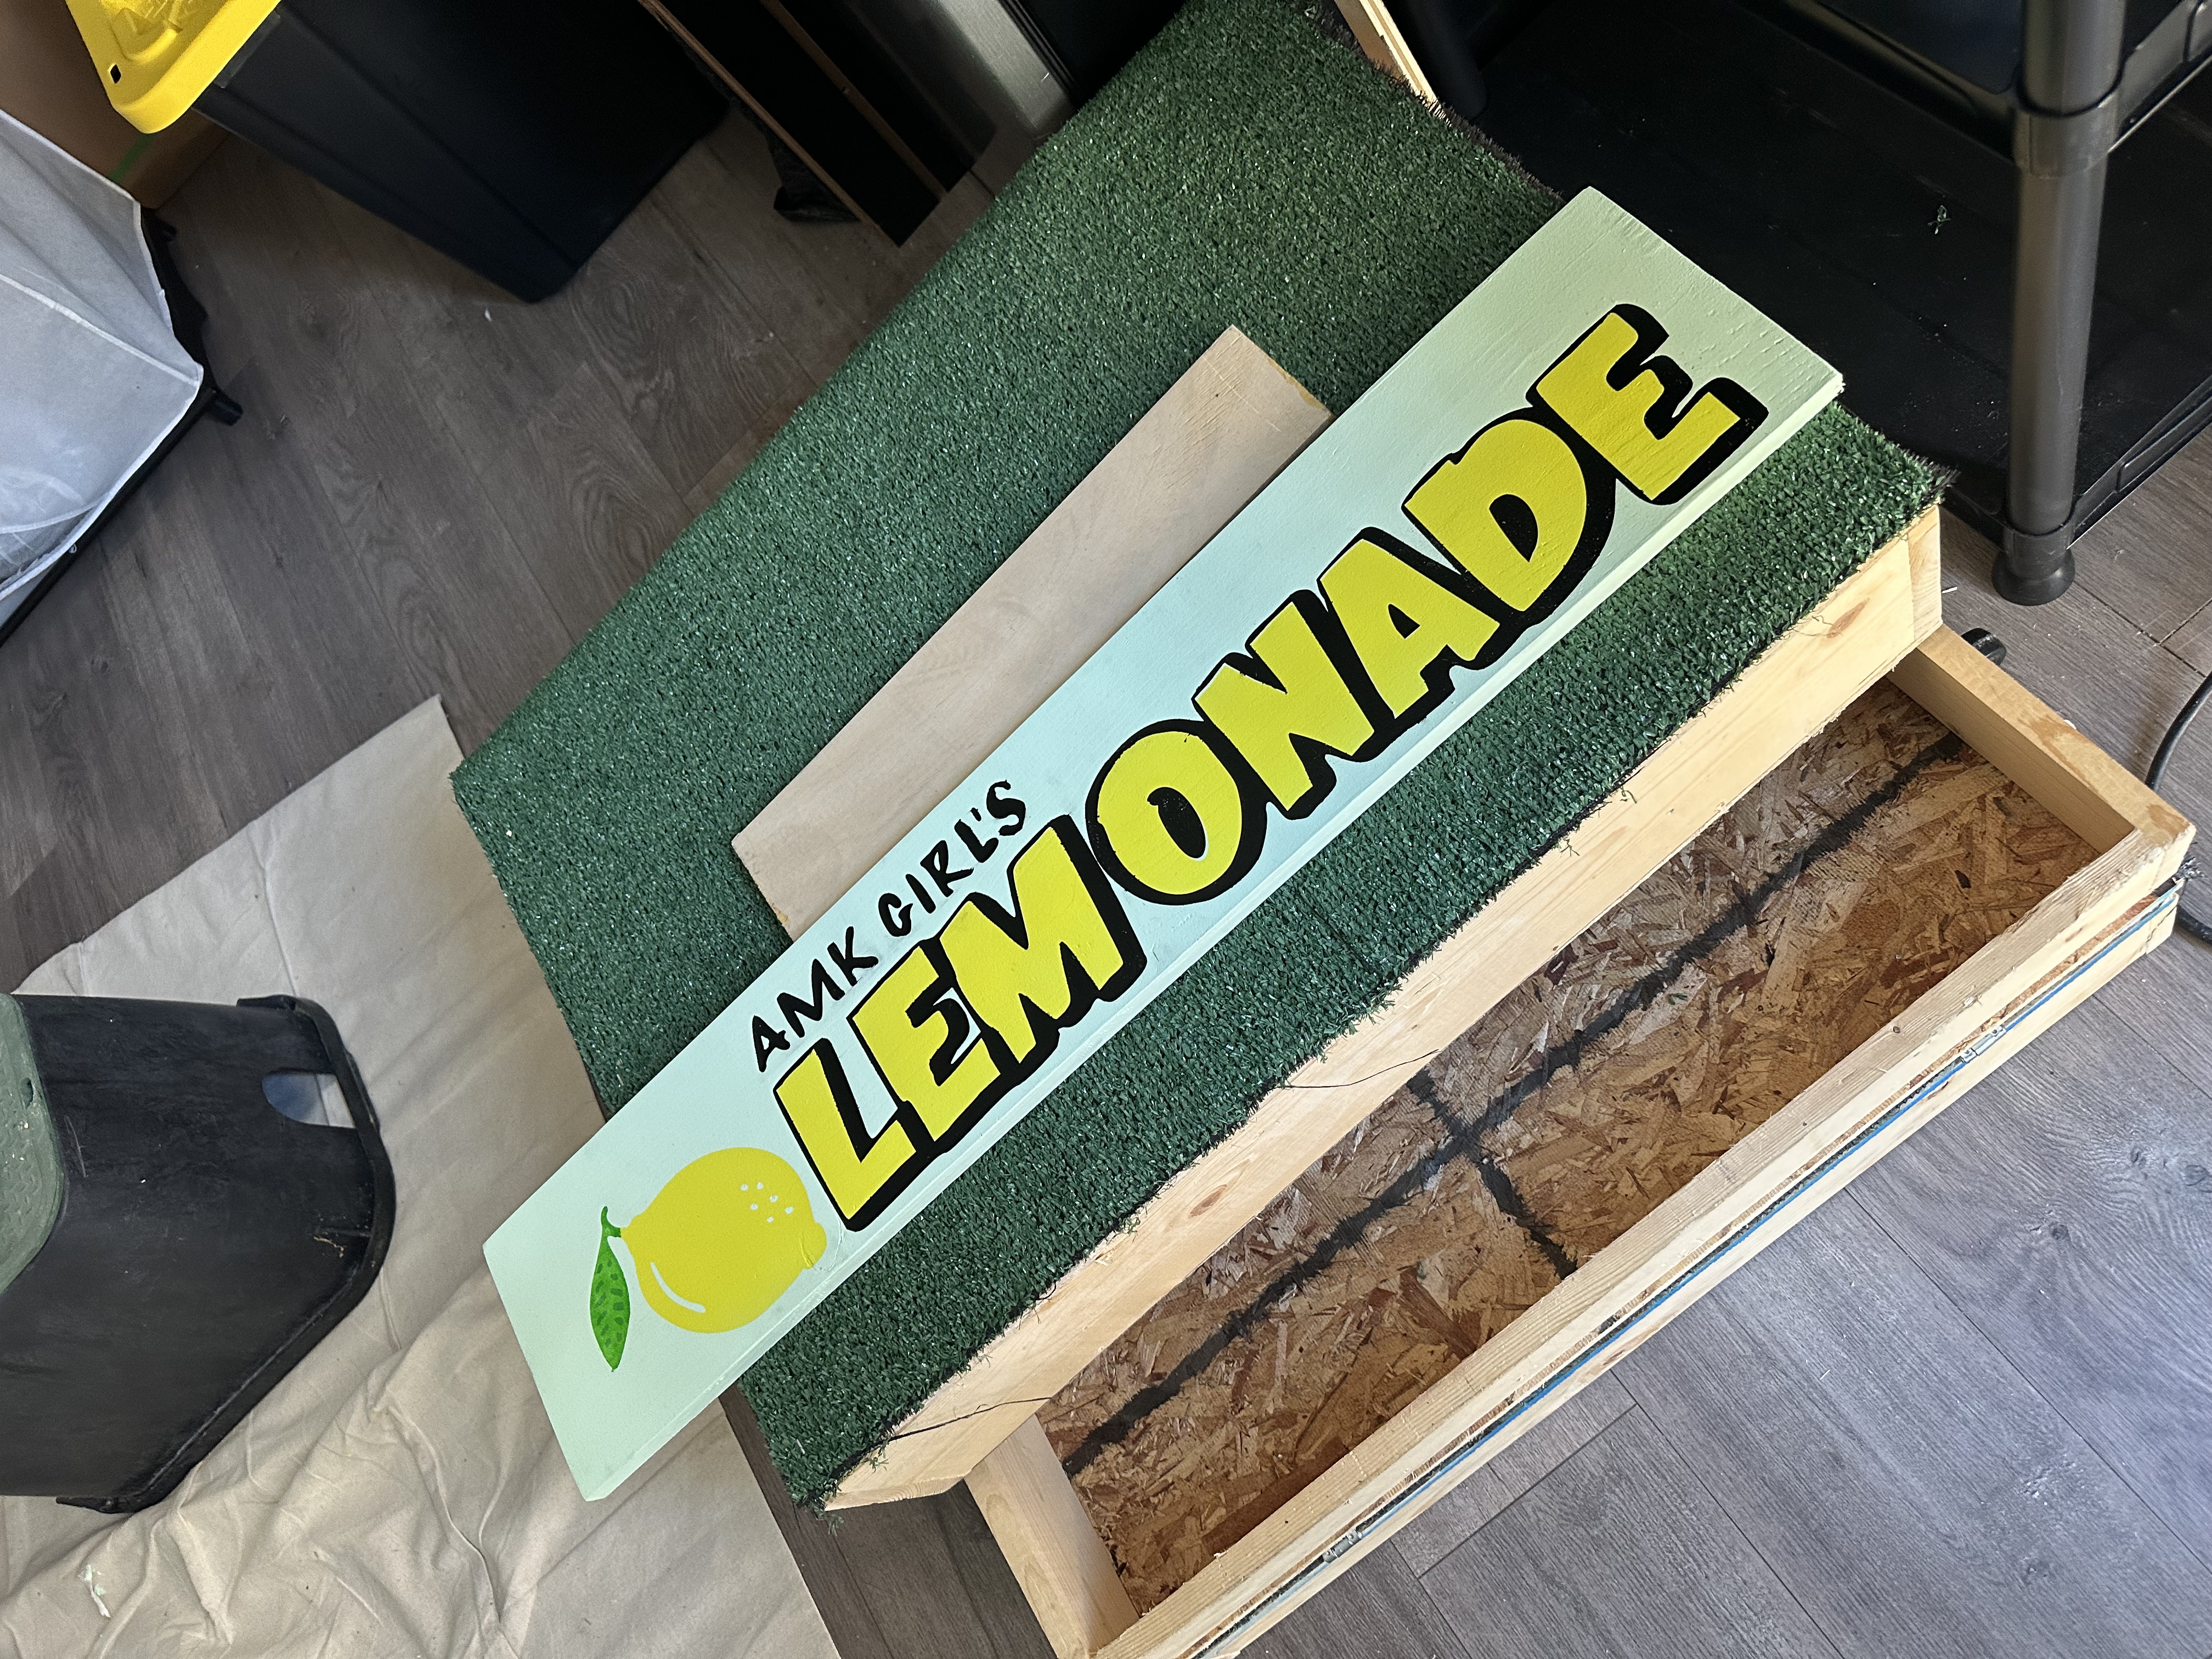
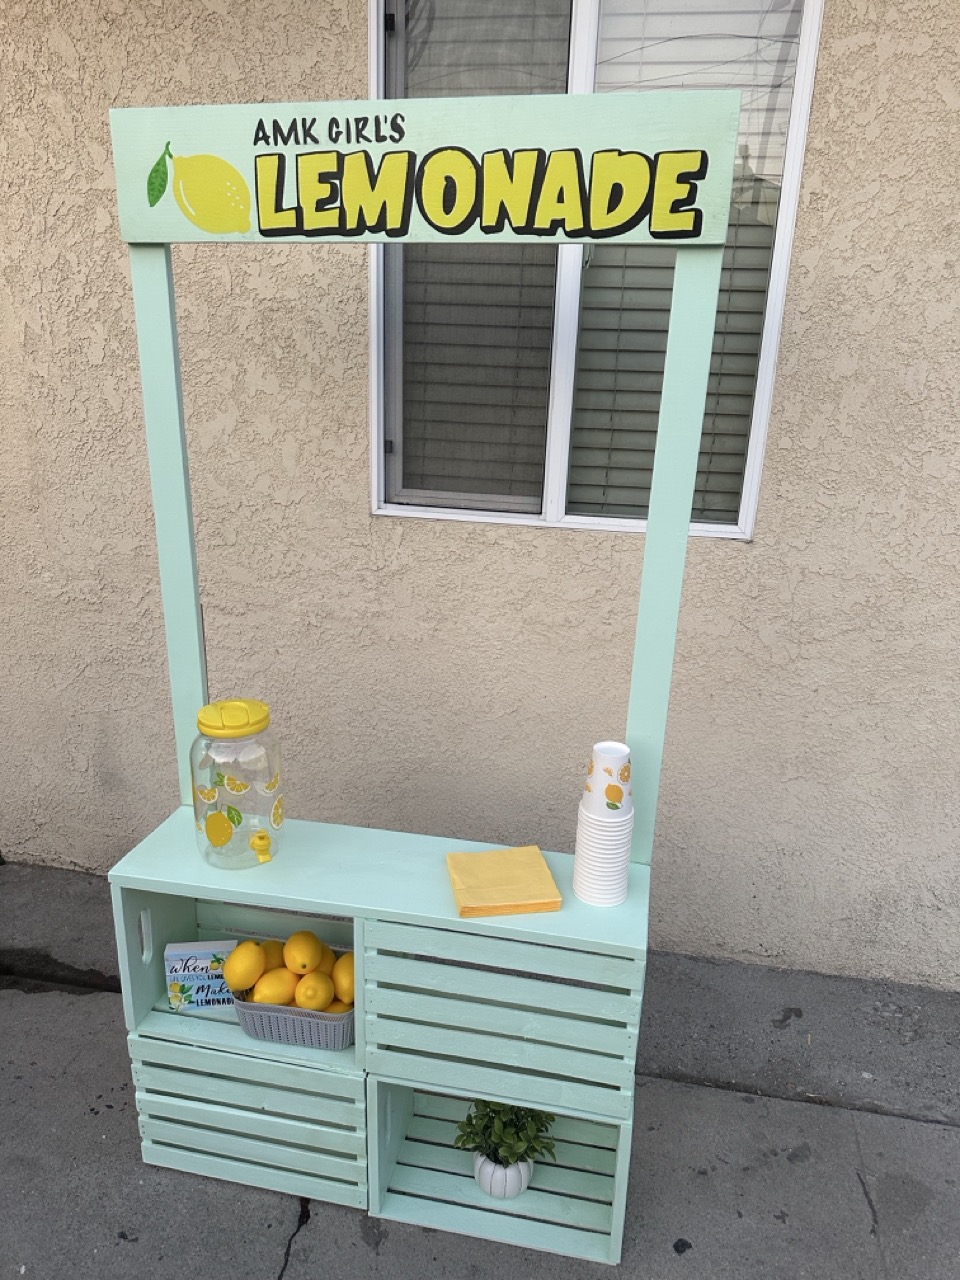
I went with a light mint green for the base, one of my favorite colors and paired it with lemonade yellow graphics outlined in black to help everything pop.

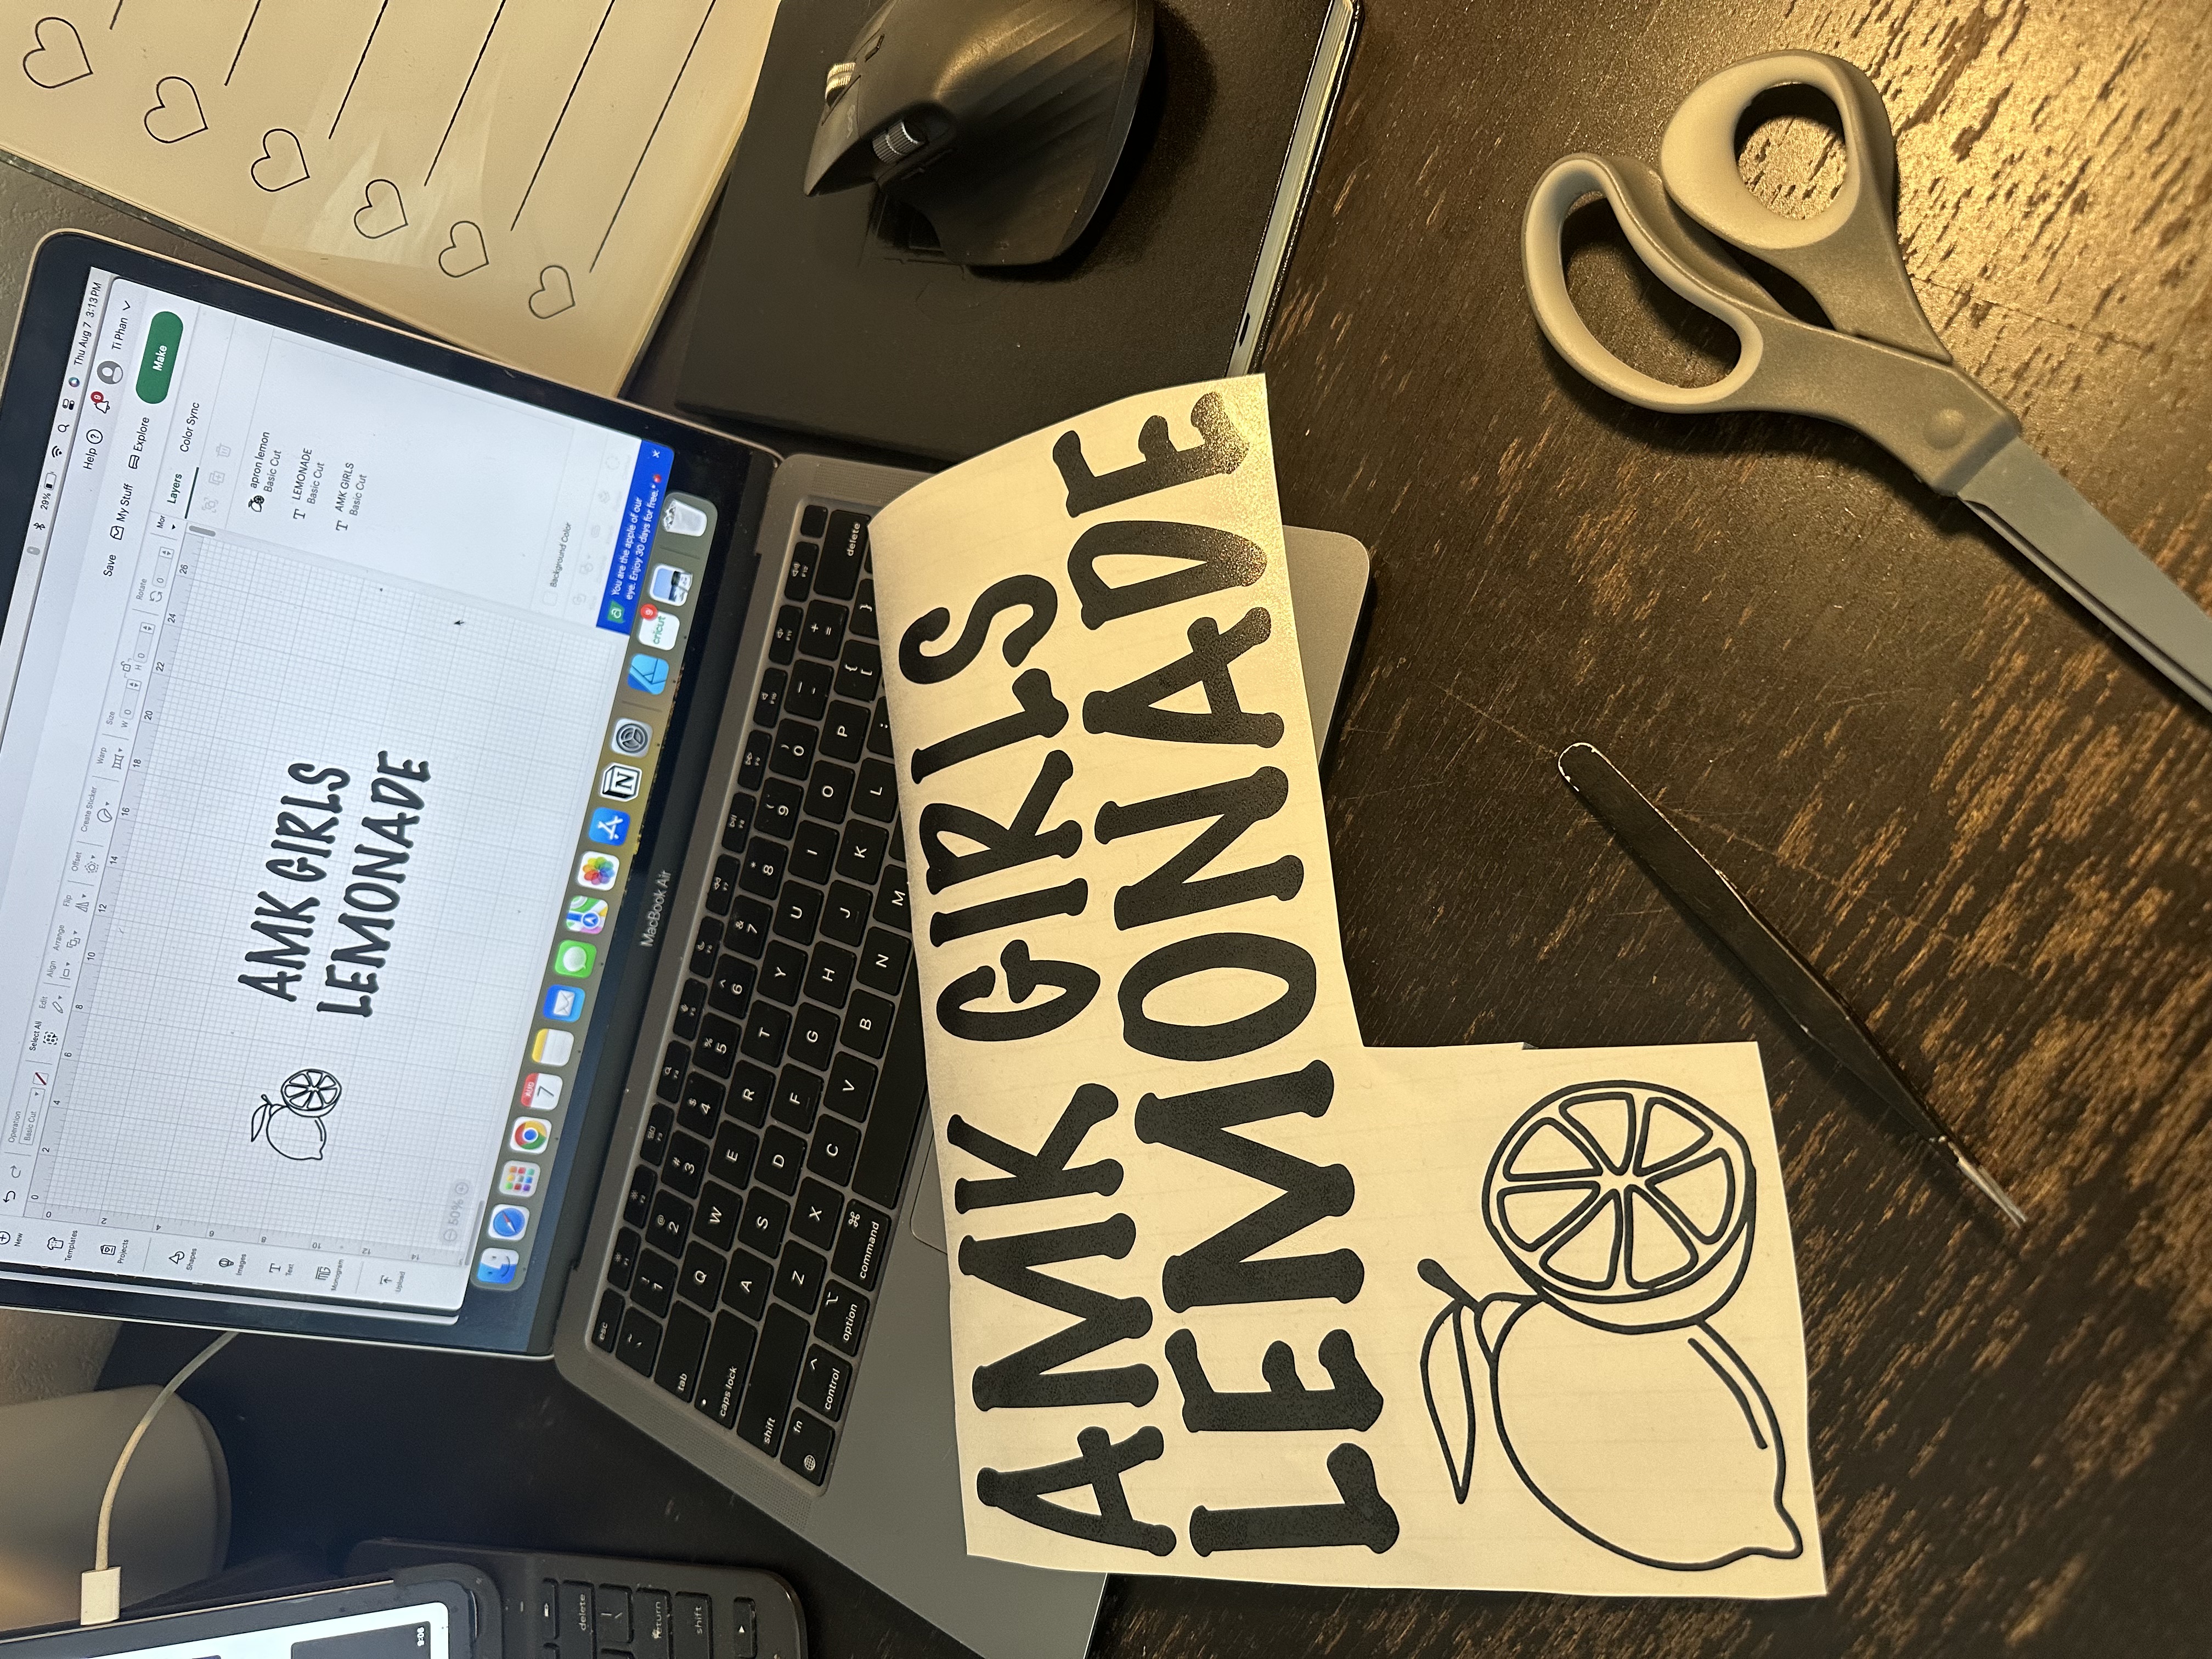
Designing the graphics wasn’t too bad, but I wanted this project to feel different.
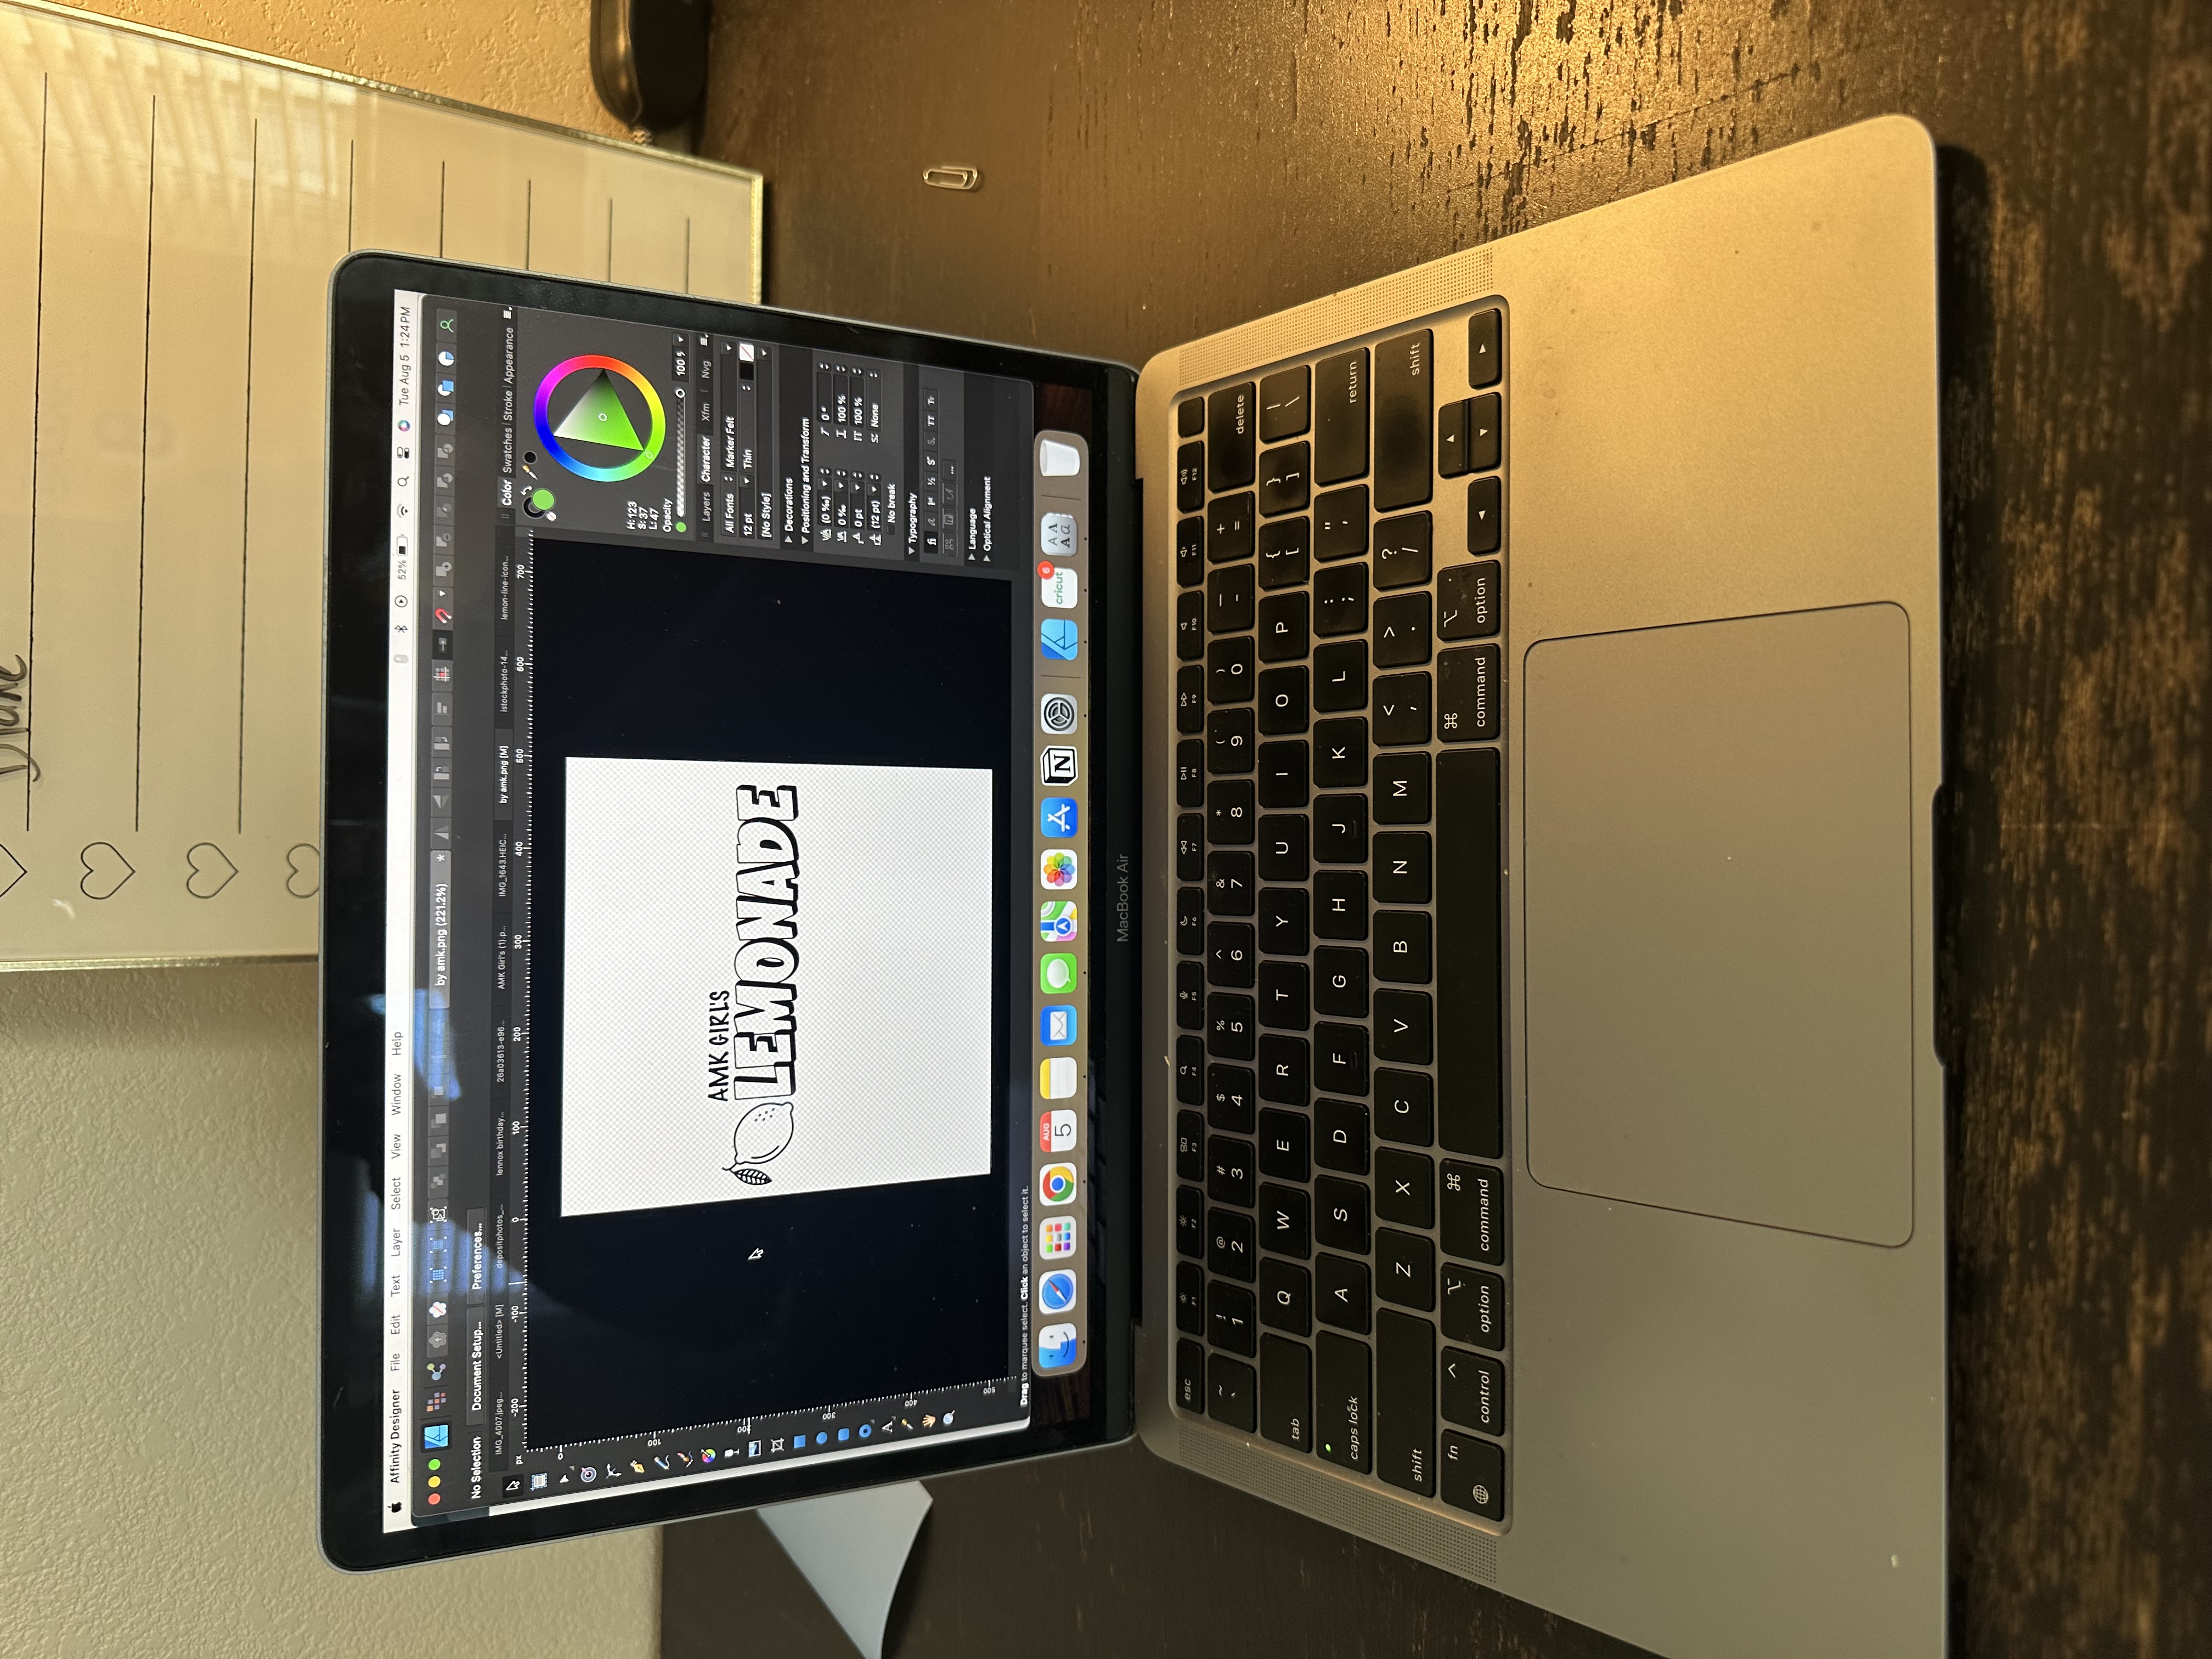
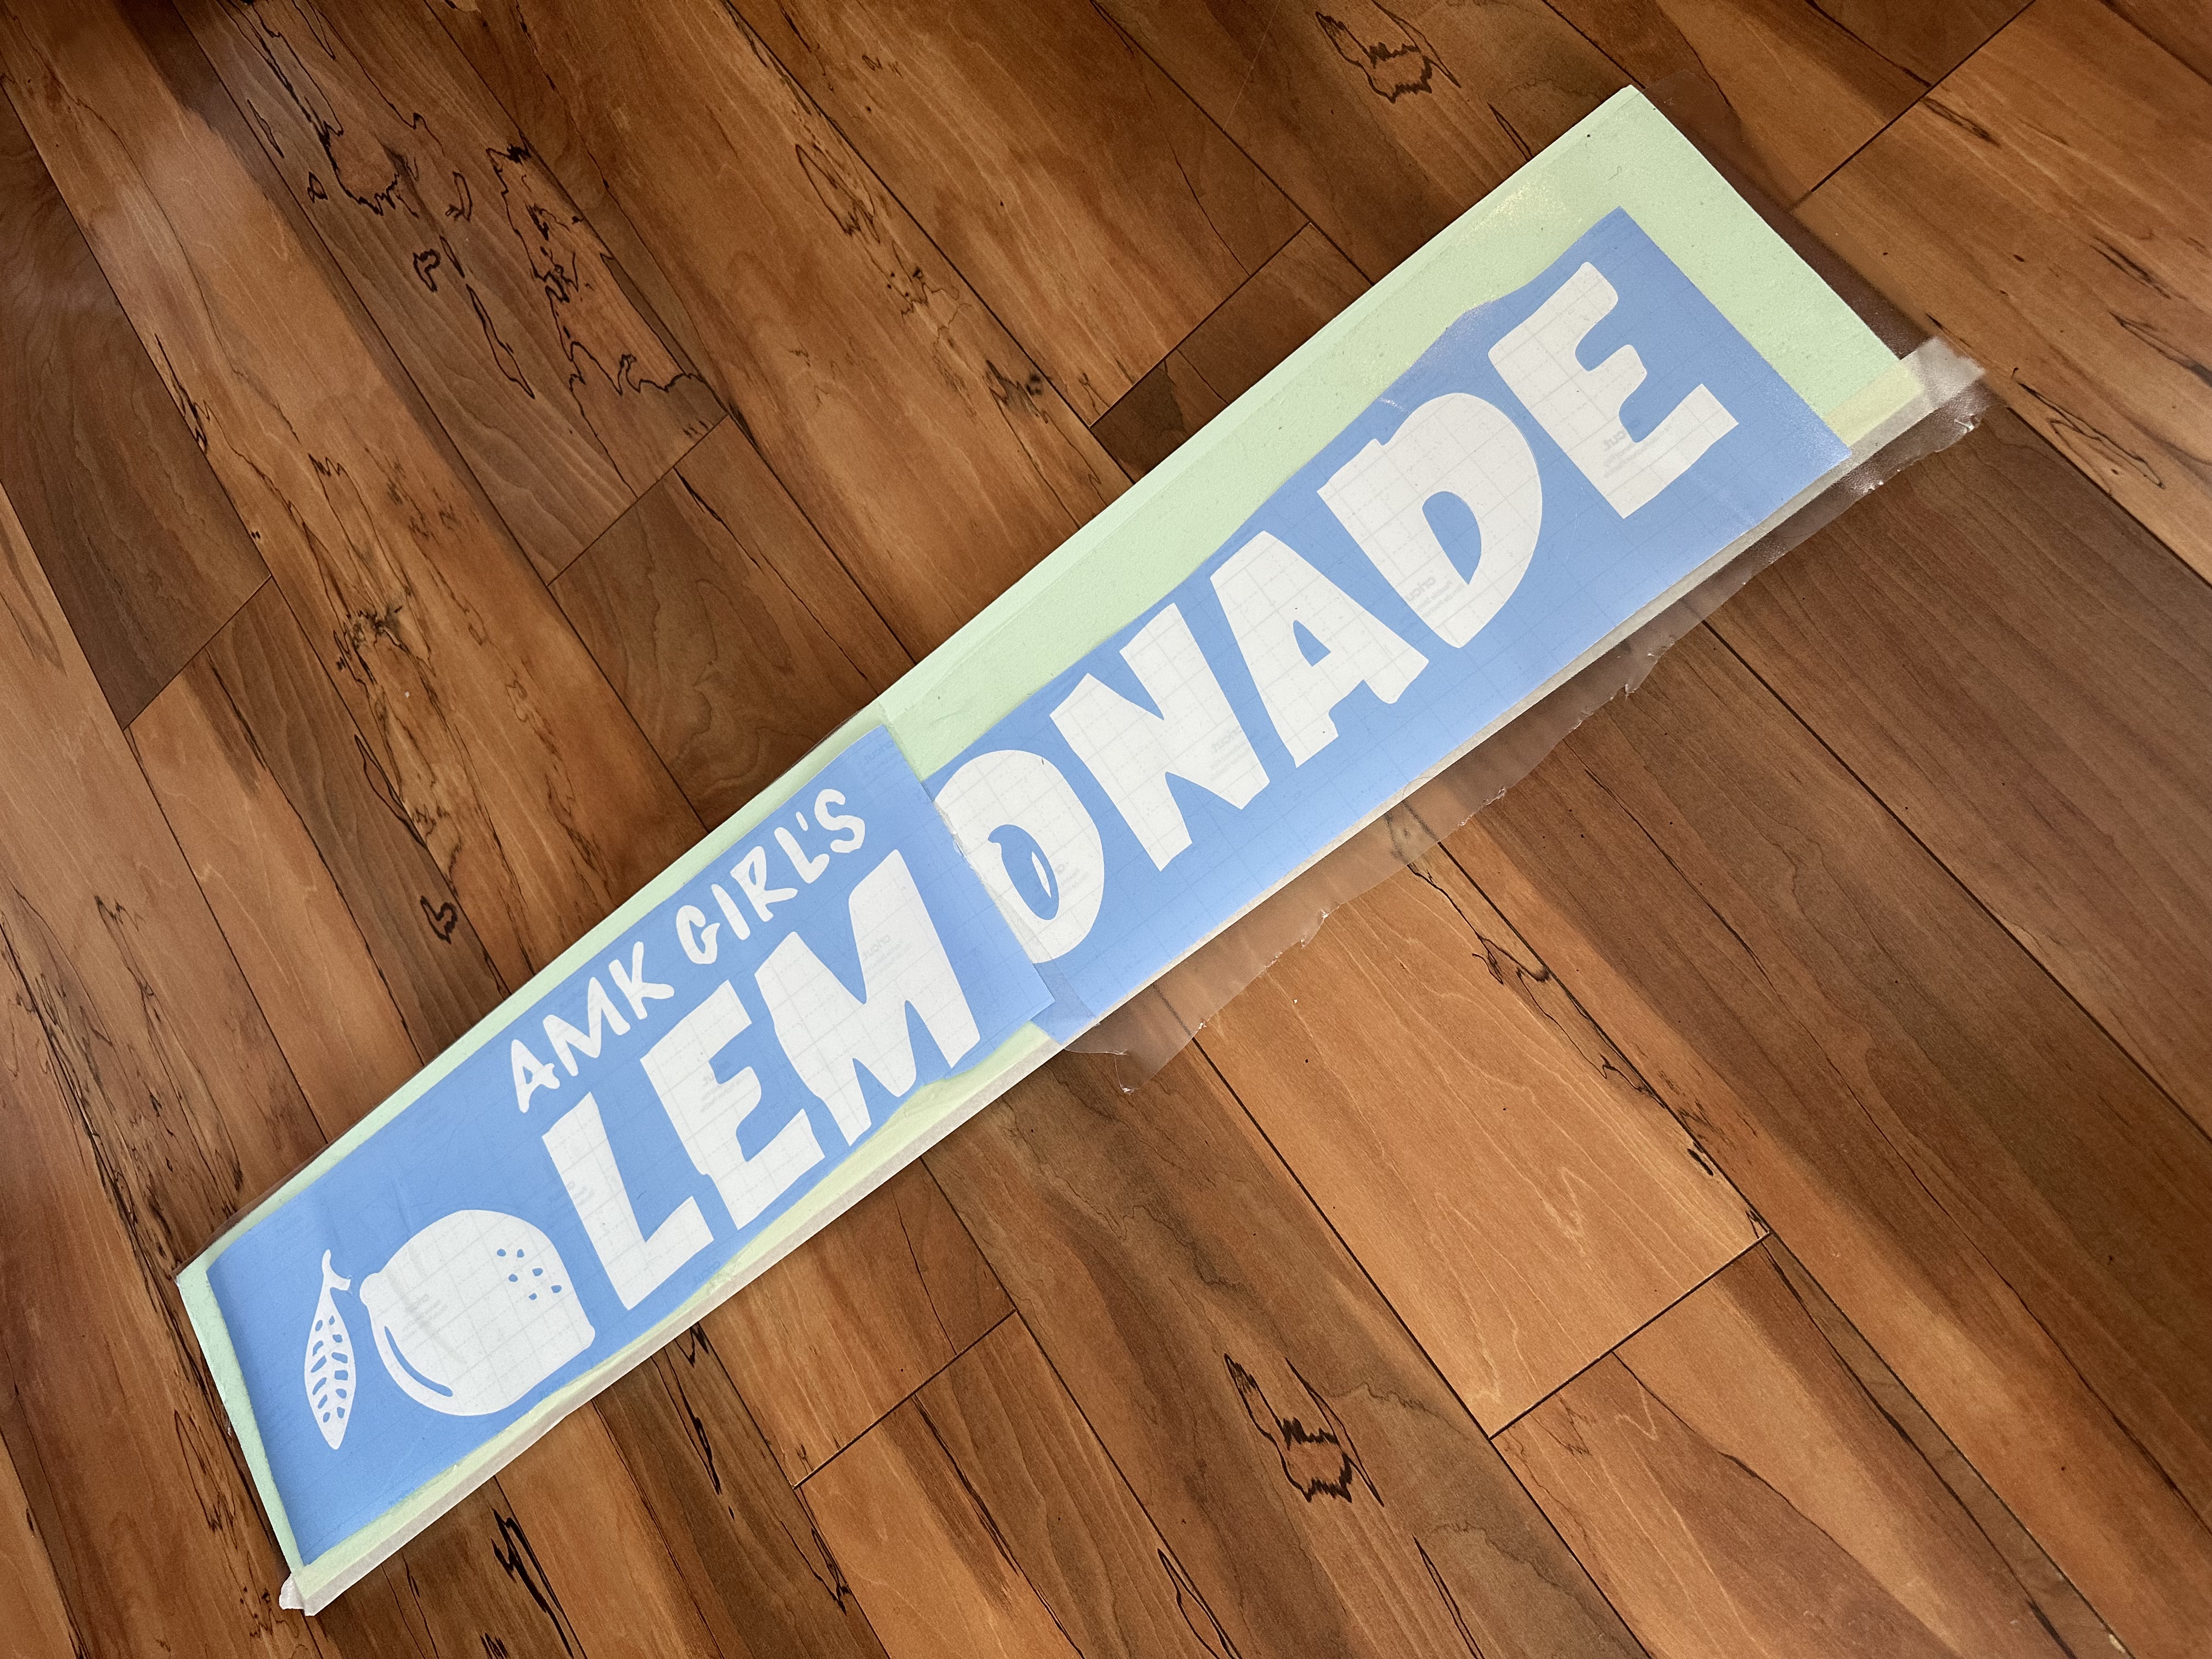
Instead of using vinyl, I decided to spray paint the graphics directly onto the stand.
That choice made things a lot more complicated than I expected.
With three different paint layers involved, patience became the real challenge.
I had to slow way down and let each layer fully dry before moving on to the next. Rushing it would’ve ruined everything.
Functionality mattered just as much as looks. I added 2” casters so the stand could roll easily, and made the legs detachable so it could fit into pretty much any car when it was time to move it.
Brainstorming and planning took about a week.
The actual build itself only took around a day. Most of the time went into thinking, adjusting, and letting things cure properly.
After everything was done, I just had to throw in some extra custom goods for the girls so I designed & printed them their own custom aprons along with a goodie box for their accessories.

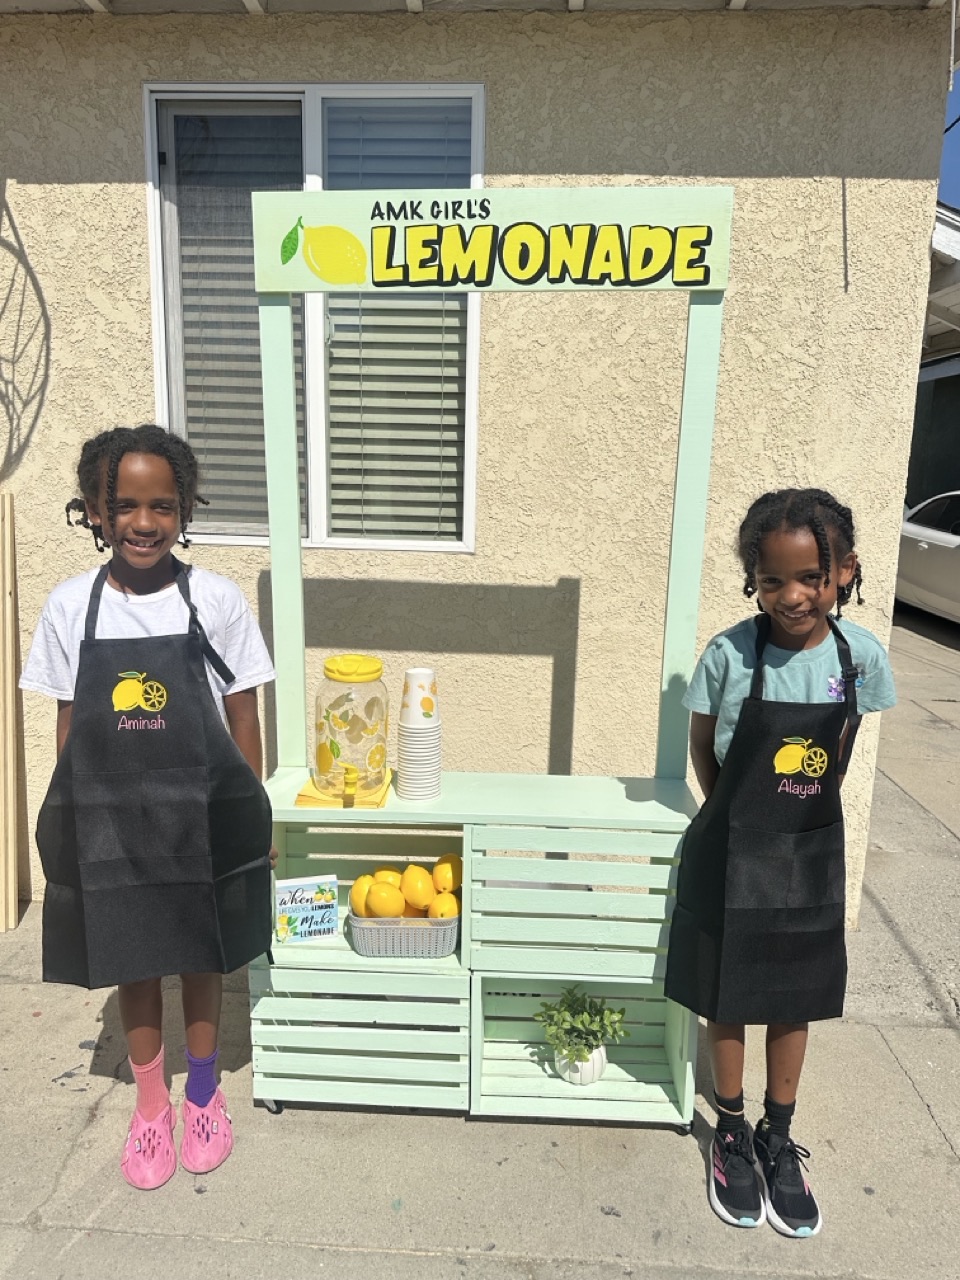
Another fun project added to the collection.
I appreciate everyone who’s taken interest in these random builds and hobbies of mine.
On to the next adventure.
Materials Used
- Plywood
- Lumber for framing
- Paint (mint green, lemonade yellow, black)
- Clear coat / protective finish
- 2” casters
- Hardware for detachable legs
Tools Used
- Circular saw
- Drill
- Sander
- Measuring tape
- Spray paint
- Plenty of patience